Look at any serious hobbyist or professional’s gear closet and you’ll see the same pattern:
You Don’t Need as Much Gear as You Think
- A few tools that are worn, trusted, always within reach.
- A larger pile of almost-new items: experiments, duplicates, “just in case” gear.
The worn tools do most of the work. The rest is latent guilt and future eBay listings.
This isn’t just about clutter. Every unused tool carries mental debt: decisions you have to keep remaking about what to use, maintain, upgrade, or eventually discard.
A useful alternative is the concept of a Minimal Viable Toolkit (MVT)—the smallest, most coherent set of tools that lets you perform 80–90% of your meaningful work.
First Principles: What Makes a Toolkit “Viable”?
Viability is not about covering every possible scenario. It’s about reliably supporting the work you actually do.
A viable toolkit:
- Covers your core use cases.
- Is reachable and ready—no digging, no complex setup.
- Is maintained—sharp, charged, updated, backed up.
- Has known workflows—you’ve practiced how to use it under real conditions.
Everything else is optional.
Step 1: Identify Your Real Use Cases
Instead of asking, “What tools do I own?” ask:
> What recurring scenarios do I actually face?
Examples for a knowledge worker:
- Deep individual work (writing, coding, designing).
- Synchronous collaboration (meetings, workshops).
- Research and capture (reading, note-taking).
- Planning and review (weekly/monthly check-ins).
Examples for a home DIYer:
- Quick household fixes (loose screws, minor plumbing, hanging items).
- Light carpentry or fabrication.
- Outdoor maintenance (garden, yard, small repairs).
List 5–10 frequent scenarios. If something happens once a year, it’s not a core use case.
Step 2: Map One Primary Tool to Each Scenario
For each scenario, choose a single primary tool or kit—not three.
Knowledge worker example:
- Deep work → laptop + noise isolation (headphones or a quiet space).
- Collaboration → a headset you trust, one video platform, one shared document tool.
- Research → one primary notes system (paper or digital) with clear tags or structure.
- Planning → a single calendar + one weekly review template.
DIYer example:
- Quick fixes → a compact toolkit: screwdriver set, adjustable wrench, tape measure, pliers, utility knife.
- Carpentry → circular saw or handsaw, drill/driver, square, clamps.
- Outdoor maintenance → basic pruning tools, gloves, a storage spot near the door.
Aim for one go-to default per scenario. You can have backups, but they shouldn’t be your first choice.
Step 3: Apply the Multipurpose Rule
To keep your MVT small and powerful, favor tools that:
- Cover multiple scenarios.
- Have interchangeable parts/attachments.
- Use common power sources or formats.
Examples:
- A drill that serves as screwdriver, hole-maker, and sander with attachments.
- A laptop that handles writing, calls, light design, and basic editing.
- A single note-taking system that holds tasks, ideas, and references in one place.
Ask of each candidate tool:
> “What three real tasks in my life does this replace or simplify?”
If you can’t name three, it probably doesn’t belong in the minimal kit.
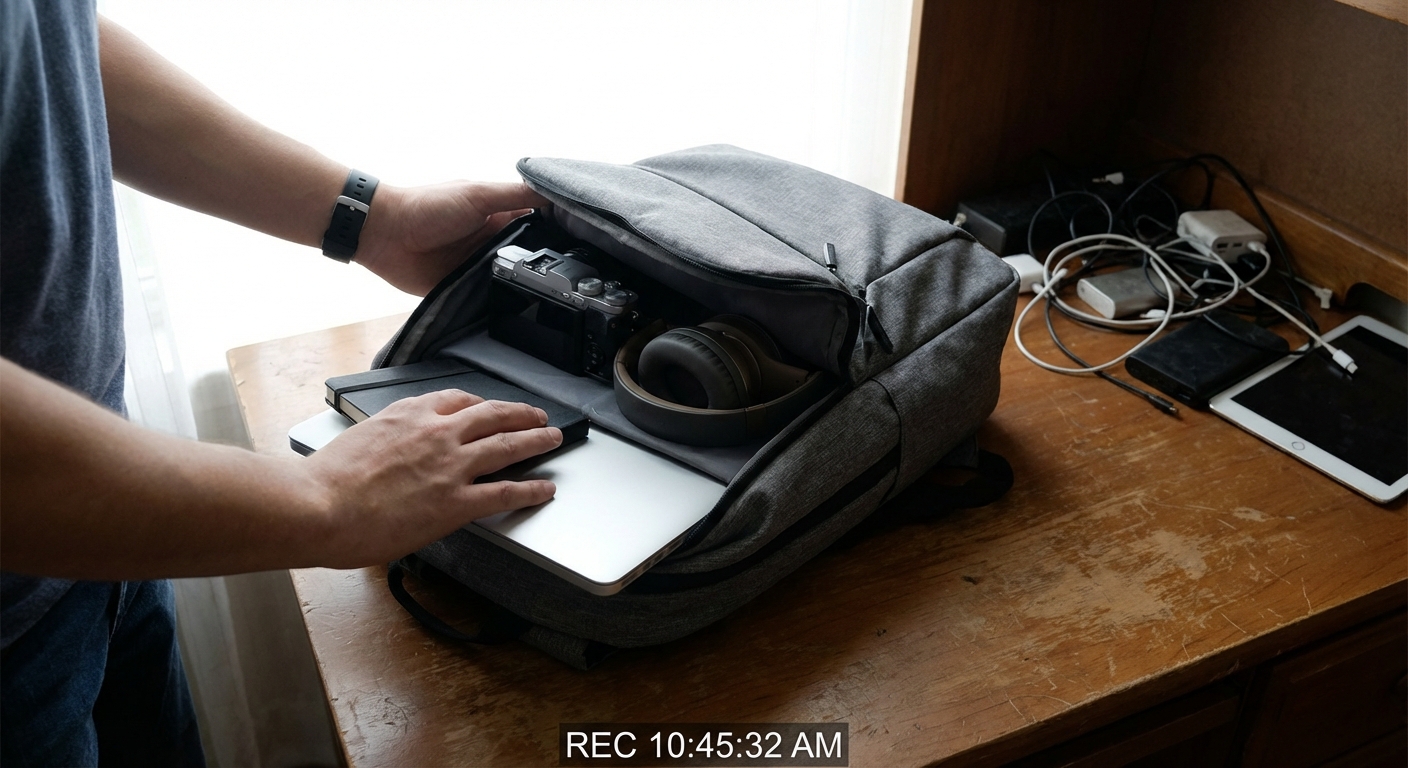
Step 4: Build a Physical or Digital “Ready Rack”
Your MVT should be visually and physically distinct from the rest of your gear.
- For physical tools: a single shelf, pegboard, or toolbox that holds the minimal set.
- For digital tools: a clean desktop, dock, or app folder with only the essentials.
The rule: when you start work, you reach for the ready rack first. Only leave this zone when there is a clear, specific reason.
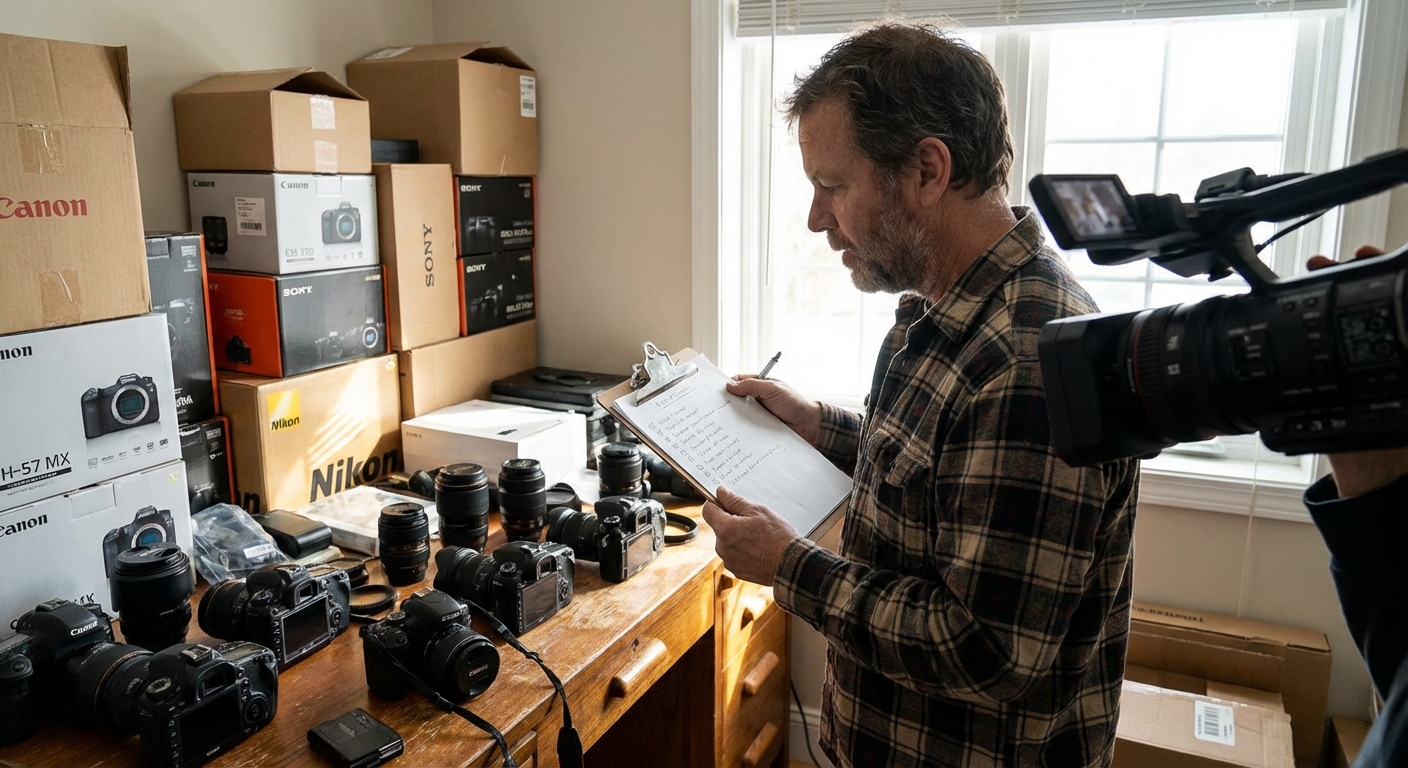
Example:
A photographer has:
- Ready rack: one primary camera body, two lenses, spare battery, charger, memory cards, simple bag.
- Overflow storage: specialty lenses, flashes, tripods, props.
On most days, work happens entirely from the ready rack.
Step 5: Test Under Real Constraints
Your MVT isn’t proven until you use it under realistic pressure.
Try these constraints:
- One-week challenge: only use your minimal toolkit for all normal work. Note any real failures.
- Time-boxed project: complete a small but meaningful project (article, repair, video, event) using only your MVT.
- Travel simulation: imagine you have to work from another location for a week. Could you function with just your minimal kit?
Document every time you genuinely needed something outside the kit—and whether that scenario is frequent enough to justify expanding it.
Real Example: A Minimal Digital Toolkit
Consider a freelance designer drowning in tools:
- 4 design apps.
- 3 note-taking tools.
- 2 project management boards.
- Clouds sprawling across Google Drive, Dropbox, and local folders.
They define their MVT as:
- Design: one main tool (e.g., Figma).
- Notes & ideas: one app with nested projects and tags.
- Project tracking: a single Kanban board.
- Files: one cloud provider + a clear folder schema.
They create a “work dock” with just these icons, hide everything else, and commit to 30 days.
Outcomes:
- Faster context switching—less tool-jumping.
- Lower cognitive load—fewer decisions about where something “should” go.
- Clearer gaps—revealing where process, not tools, was the bottleneck.
What to Do With the Rest of Your Gear
Once you have a working MVT, your other gear falls into three buckets:
Strategic Reserves (Rare but valuable)
- Specialty gear for infrequent but important jobs. - Store clearly labeled and consolidated.
Experimental Zone (Deliberate learning)
- Tools you’re actively testing for 60–90 days. - If they don’t earn a place in the MVT or reserves, they go.
Dead Weight (Emotional residue)
- Tools you’re keeping out of guilt, sunk cost, or vague hope. - Sell, donate, or recycle.
Be blunt with yourself: if a tool hasn’t been used in a year and doesn’t serve a clearly defined rare scenario, it’s probably not part of your future.
The Psychological Benefit: Fewer Open Loops
A smaller, sharper toolkit reduces:
- Decision fatigue – you know exactly what to reach for.
- Shame – no more staring at shelves of unused gear.
- Fragmentation – less scattering of your attention across systems.
In its place, you get:
- Familiarity: deep skill with a few well-chosen tools.
- Reliability: you notice issues quickly because you use everything often.
- Mobility: easier to work from anywhere, with confidence.
Your Toolkit as a Mirror of Your Priorities
The Minimal Viable Toolkit is not about austerity for its own sake. It’s about aligning what you own with what you say matters.
The process, in summary:
- Identify your real, recurring scenarios.
- Assign one primary tool per scenario.
- Favor multipurpose, interoperable tools.
- Physically separate the minimal kit from the rest.
- Stress-test it and evolve it slowly.
Over time, you’ll find that the same focused toolkit can support an increasingly ambitious body of work. The leverage doesn’t come from owning everything—it comes from fully owning what you choose to keep.